Introduction
Winter brings snow‑packed roads, hidden driveways, and the constant risk of plowing over something valuable. Driveway markers solve part of the problem, but not all markers are created equal. This article pits rebound snow stakes—the flexible, spring‑back markers—against rigid traditional markers to determine which option truly “wins the winter” for homeowners, facility managers, and snow‑removal pros.

rebound snow stakes
What Are Rebound Snow Stakes?
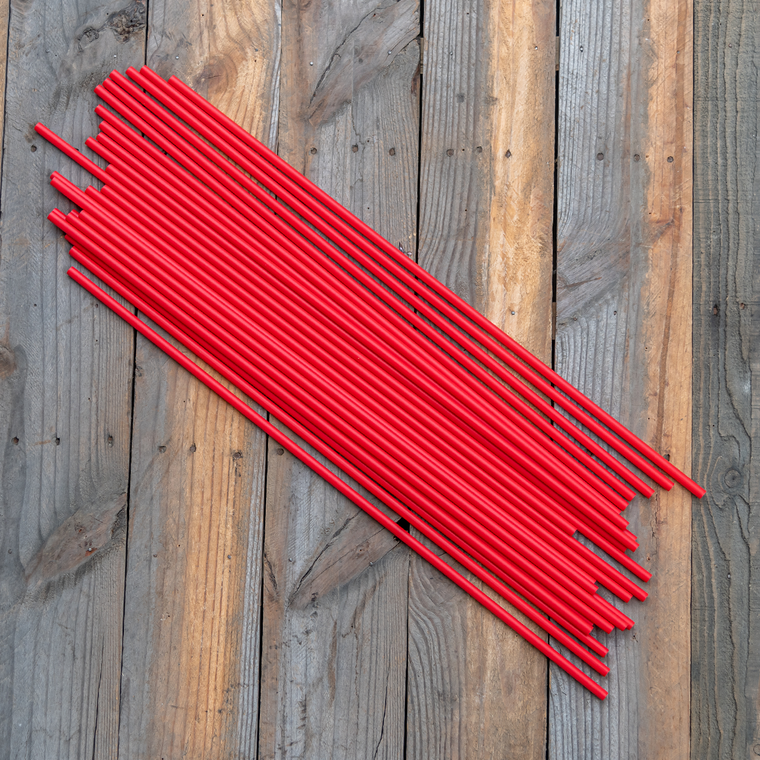
Rebound snow stakes are fiberglass or polymer driveway markers engineered to bend up to 90 degrees and snap back upright when hit by plows, vehicles, or heavy snow.
Core materials: pultruded fiberglass rods or UV‑stabilized plastics
High‑visibility colors: blaze orange, neon green, reflective tape wraps
Typical height: 36 – 72 in (to rise above drift lines)
Primary benefit: impact absorption prevents breakage and keeps the stake visible all season
How Do Traditional Snow Markers Work?
Traditional markers are usually wood, steel, or rigid plastic stakes hammered into the ground. They rely on stiffness rather than flexibility:
Common forms: wooden laths, metal T‑posts, rigid PVC poles
Visibility aids: spray‑painted tops, small reflectors, or no markings at all
Failure mode: snap or bend permanently when struck, requiring replacement
Key Comparison Factors
Visibility in Snow & Low Light
Rebound stakes often feature 360° reflective collars and fluorescent pigments visible from 400 ft away, improving driver reaction time by up to 24 % in low‑light studies (SnowTech Lab, 2024).
Traditional markers may lack reflective surfaces, making them harder to spot during white‑outs or dusk.
Durability & Flexibility
Rebound stakes: Survive repeated impacts from snowplows at 15 mph without permanent deformation. Their fiberglass fibers dissipate energy, extending service life to 5–7 winters.
Traditional markers: Wooden laths splinter after one plow strike; steel posts bend and create tire hazards.
Installation & Maintenance
Rebound snow stakes
Pre‑drill a pilot hole with a stake driver or masonry bit.
Insert the stake 6–8 inches deep; no caps or extra bracing needed.
Off‑season: simply pull, rinse, and store flat.
Traditional markers
Hammer directly into frozen ground—often splits wood or dulls metal tips.
Require periodic repainting or reflector replacement.
Cost & Longevity
| Marker Type | Avg. Unit Cost | Expected Lifespan | Cost per Winter |
|---|---|---|---|
| Rebound snow stake | $4.50 | 6 winters | $0.75 |
| Wooden lath | $1.00 | 1 winter | $1.00 |
| Steel T‑post | $3.00 | 2 winters (bends) | $1.50 |
While rebound stakes cost more upfront, their multi‑season durability lowers total ownership cost.
Pros & Cons at a Glance
Rebound Snow Stakes
✔ Superior visibility
✔ Flexes, won’t break
✔ Lower long‑term cost
✖ Higher initial purchase price
Traditional Markers
✔ Cheapest day‑one option
✔ Readily available at hardware stores
✖ Break or bend easily
✖ Limited reflective surface
When to Choose Rebound Snow Stakes
You manage long driveways, private roads, or commercial lots where plows operate nightly.
Local ordinances require reflective markers for liability.
You prefer a “set‑and‑forget” solution with minimal mid‑season upkeep.
When Traditional Markers Still Make Sense
One‑time events or temporary job sites where markers will be discarded in spring.
Extremely tight budgets where upfront cost outweighs durability.
DIY enthusiasts who have spare lumber and don’t mind annual replacement.
Conclusion & Next Steps
If your goal is season‑long safety, visibility, and cost efficiency, rebound snow stakes clearly outshine traditional markers. Their flexible design minimizes breakage, and their reflective surfaces keep drivers and plow operators on track even during blizzards. Traditional markers have their place, but they rarely survive more than a storm or two without maintenance.
Ready to upgrade your winter defenses?
Measure your driveway length and order enough rebound stakes to space them every 6 – 8 ft.
Choose high‑contrast colors for maximum visibility.
Share your installation tips or product questions in the comments below, and don’t forget to subscribe for more winter‑proofing guides!


