Fiberglass is a durable and lightweight material that is often used in the manufacturing of boats, cars, and even aircraft. In order to create complex fiberglass parts and components, it is necessary to create a mold. A fiberglass mold can be used repeatedly to produce multiple parts that are identical in shape and size. In this article, we will discuss the steps required to make a fiberglass mold.

Step 1: Create a Model
The first step in making a fiberglass mold is to create a model of the object or part that you want to produce. The model can be made from a variety of materials including clay, foam, or wood. The model should be an exact replica of the final part that you want to produce.
Step 2: Apply Release Agent
Once you have your model, you need to apply a release agent to the surface. This will prevent the fiberglass from sticking to the model and allow you to remove it once it has hardened. You can purchase release agents specifically designed for use with fiberglass molds.
Step 3: Apply Gel Coat

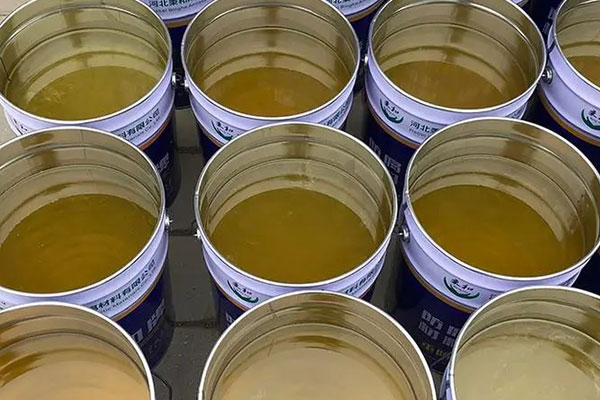
The next step is to apply a layer of gel coat to the model. A gel coat is a pigmented resin that is used to create a smooth, glossy surface on the final part. Apply the gel coat with a paintbrush or spray gun, making sure to cover the entire surface of the model.
Step 4: Apply Fiberglass Mat
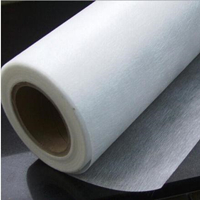
After the gel coat has cured, it is time to apply the fiberglass mat. A fiberglass mat is made up of small glass fibers that are held together with a resin. Cut the mat into pieces that are slightly larger than the surface of the model and begin applying them to the surface. Make sure to use enough resin to saturate the mat and ensure that it adheres to the surface of the model.

Step 5: Apply Additional Layers of Fiberglass
Once the first layer of fiberglass has cured, you can apply additional layers until you reach the desired thickness. Each layer should be allowed to cure before applying the next one. As you apply additional layers, you may want to use different types of fiberglass, such as chopped strand mats or woven roving, to create a stronger mold.
Step 6: Remove the Mold
After the final layer of fiberglass has cured, you can remove the mold from the model. Carefully pry the edges of the mold away from the model and gently lift it off. If the mold is stuck, you may need to use a release agent to help loosen it.
Step 7: Trim the Mold
Once the mold has been removed, you can trim any excess fiberglass from the edges using a rotary tool or saw. Be careful not to cut into the mold itself.
Step 8: Apply a Final Coat of Release Agent
Before using the mold, it is important to apply a final coat of release agent. This will ensure that the fiberglass part can be removed easily and that the mold can be used repeatedly.
In conclusion, making a fiberglass mold requires some skill and patience, but it is a process that can be mastered with practice. By following these steps, you can create a durable and reliable mold that will allow you to produce high-quality fiberglass parts and components. With the right tools and materials, you can start making your own molds today.


