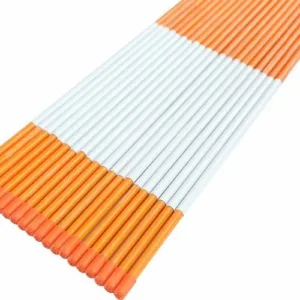
Installing fiberglass driveway markers is a straightforward process that requires a few simple steps. Follow the instructions below to properly install fiberglass driveway markers:

how to install fiberglass driveway markers
Gather the necessary tools and materials
You will need fiberglass driveway markers, a rubber mallet or hammer, a small shovel or digging tool, and a tape measure.
Determine the marker placement
Measure and mark the desired locations for your driveway markers. Typically, they are placed along the edges of the driveway to provide visibility and guidance.
Prepare the installation area
Use the small shovel or digging tool to remove any debris, grass, or soil from the area where you will be installing the markers. Clear a small space to ensure a stable installation.
Insert the fiberglass markers
Take a fiberglass marker and position it in the prepared spot. Hold the marker upright and firmly press it into the ground, starting from the top end. Apply downward pressure while twisting the marker slightly to help it penetrate the soil.
Secure the markers
Once the marker is inserted into the ground, use a rubber mallet or hammer to tap gently on the top end of the marker. This will ensure that it is securely positioned in the ground and won’t easily come loose.
Repeat the process
Continue installing fiberglass markers along the desired locations of your driveway. Make sure to space them evenly and align them for a consistent and professional appearance.
Check the stability
After installing all the markers, give them a gentle shake to ensure they are firmly in place. If any markers feel loose, tap them again with the rubber mallet or hammer to ensure a secure installation.
Clean up
Remove any excess dirt or debris from the installation area and tidy up the surrounding area to leave a clean and finished look.
By following these steps, you can successfully install fiberglass driveway markers. These markers will enhance visibility, especially at night or during inclement weather conditions, and help guide vehicles along your driveway safely.


