


Introduction
In today’s competitive manufacturing world, fiberglass mold design is the backbone of high-quality product development. Whether you’re manufacturing automotive parts, marine equipment, or custom architectural pieces, your mold design determines the strength, precision, and aesthetic quality of your final product. A poorly designed mold can lead to production issues, increased costs, and unsatisfied customers. This article walks you through seven essential steps to achieve flawless fiberglass mold design, ensuring your products stand out in quality and durability.

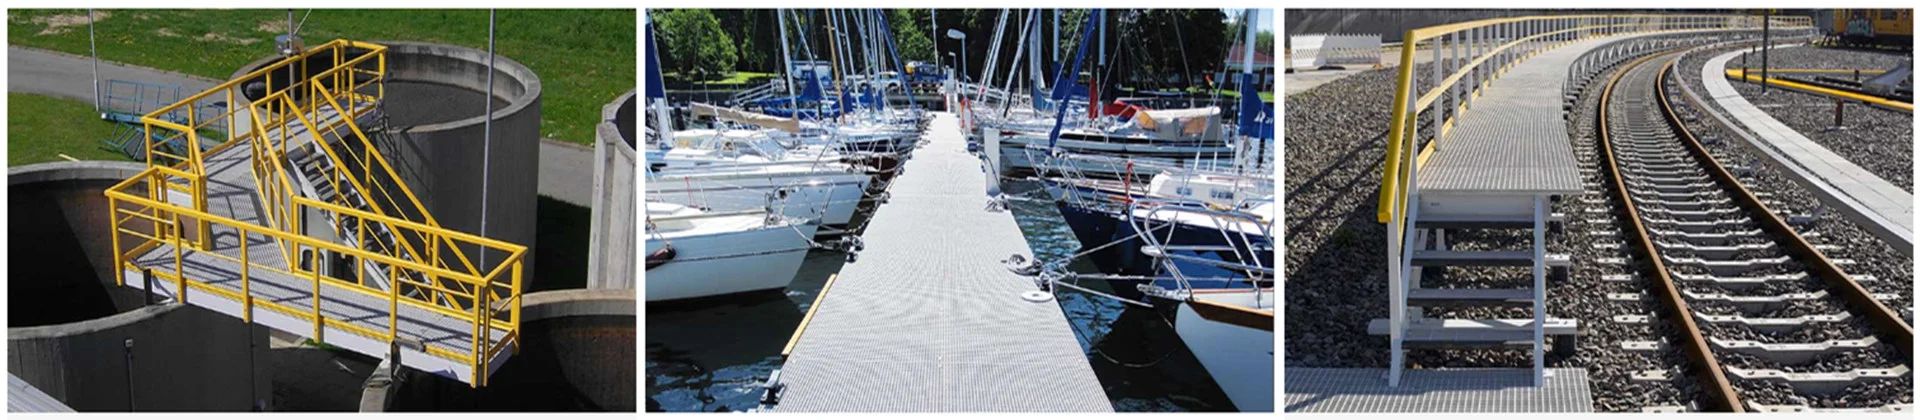
fiberglass mold design
Step-by-Step Guide to Fiberglass Mold Design
Step 1: Define Clear Objectives
Before you start designing your mold, clearly define your project’s goals. Consider:
- Strength and durability: Is the mold for structural components requiring maximum strength?
- Flexibility: Does the product need to withstand repeated flexing?
- Aesthetic considerations: Will the mold require precise detailing or special finishes?
By clearly outlining your objectives, you’ll streamline decision-making and enhance overall mold performance.
Step 2: Select Appropriate Materials
Choosing suitable fiberglass and resin types significantly influences your mold’s performance. Consider the following:
- E-glass fiberglass: Great for general-purpose molds requiring good strength and affordability.
- S-glass fiberglass: Provides superior strength and heat resistance, ideal for demanding applications.
- Polyester resin: Cost-effective, easy to work with, suitable for most general-purpose molds.
- Epoxy resin: Offers superior strength and chemical resistance, ideal for precision molds.
Selecting materials aligned with your specific needs ensures mold longevity and product consistency.
Step 3: Create a Detailed Mold Blueprint
Precision starts at the blueprint stage. Create detailed drawings or digital renderings with clear dimensions and specifications. Software such as AutoCAD, SolidWorks, or Fusion 360 can help ensure accuracy and efficiency.
Ensure your blueprint includes:
- Exact dimensions and tolerances
- Surface details (texture, finish)
- Clearly marked mold separation lines (parting lines)
A precise blueprint significantly reduces manufacturing errors, saving both time and costs.
Step 4: Prepare the Model for Molding
Before constructing the mold, carefully prepare the model or “plug.” Proper preparation includes:
- Cleaning the model thoroughly to remove dust, grease, and debris.
- Applying a high-quality sealant to protect model surfaces.
- Choosing the right mold release agent, such as silicone-based or wax-based releases, to prevent sticking.
Taking extra care at this stage minimizes imperfections and eases mold removal, preserving mold integrity.
Step 5: Construct the Fiberglass Mold
When constructing your mold, layer fiberglass and resin meticulously:
- Apply a thin gel coat layer first, ensuring a smooth surface.
- Layer fiberglass matting evenly, saturating it thoroughly with resin.
- Avoid common pitfalls such as air bubbles or uneven layering, which compromise mold quality.
Tip: Work in controlled temperatures (60-80°F) to achieve optimal resin curing and mold strength.
Step 6: Cure and Finish the Mold
Allow your fiberglass mold sufficient curing time, typically between 24 to 72 hours, depending on resin type and thickness. For the best results:
- Avoid direct sunlight and moisture during curing.
- After curing, carefully sand surfaces using progressively finer abrasives for a smooth finish.
- Polish thoroughly to eliminate any surface imperfections.
Inspect carefully for imperfections like cracks or uneven surfaces—addressing these early avoids costly corrections later.
Step 7: Test and Refine Your Mold
Testing your mold is crucial before full-scale production:
- Conduct small batch test runs to verify mold accuracy and durability.
- Check for consistent product dimensions and ease of demolding.
- Refine your design based on feedback, ensuring the mold performs optimally under realistic conditions.
As renowned engineer Henry Ford famously said, “Quality means doing it right when no one is looking.” Testing ensures consistent quality that meets high industry standards.
Conclusion
By following these seven essential steps—defining objectives, choosing the right materials, creating detailed blueprints, preparing carefully, meticulous construction, proper curing, and thorough testing—you’ll achieve flawless fiberglass mold design. Precision and attention to detail aren’t optional; they are critical for success.
Have you faced any challenges in fiberglass mold design, or discovered helpful tips of your own? Share your experiences in the comments below. Don’t forget to share this article with your peers and subscribe to our newsletter for more insights on advanced manufacturing techniques!


