Introduction
Creating a cardboard mold for fiberglass is a practical and cost-effective approach for many DIY projects and small-scale manufacturing. Whether you’re crafting a custom part, creating artistic pieces, or working on a repair, using a cardboard mold can simplify the process while keeping costs low. Cardboard, known for its flexibility and availability, can be an excellent choice for molding when handled correctly. In this guide, we’ll walk you through the steps to create a sturdy and reliable cardboard mold for fiberglass, ensuring your project is both successful and durable.

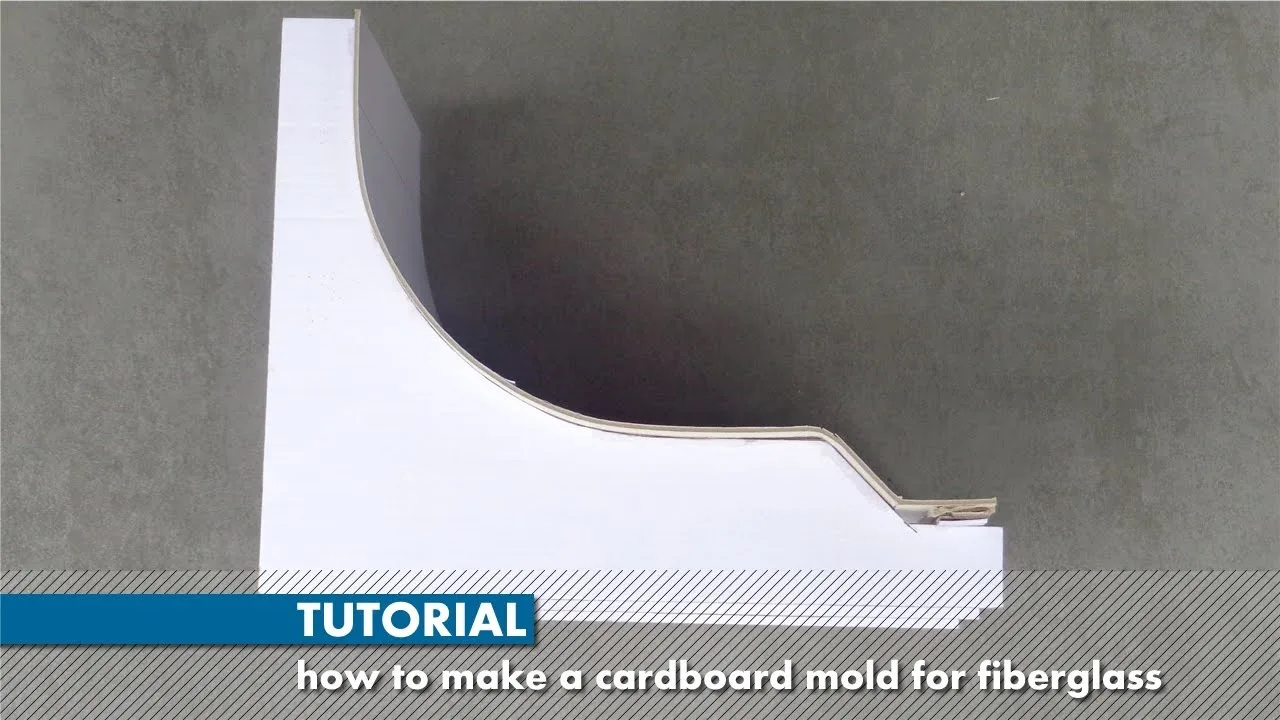
cardboard mold for fiberglass
Why Use Cardboard for Fiberglass Molds?
Cardboard is often overlooked in favor of more traditional mold materials like wood or plastic. However, it offers several unique advantages that can make it the ideal choice for certain projects. One of the main benefits is its cost-effectiveness; cardboard is inexpensive and widely available, making it perfect for projects on a budget. Additionally, its flexibility allows for more intricate and customized mold designs, which might be challenging with harder materials. Furthermore, cardboard is easier to manipulate and shape, making it suitable for projects that require quick prototyping or one-off creations. For those who need a mold that can be easily adjusted or replaced, cardboard is an excellent option.
Step-by-Step Guide to Creating a Cardboard Mold for Fiberglass
Materials Needed
Before you begin, gather all necessary materials. You will need:
- Cardboard sheets
- Fiberglass cloth or mat
- Resin and hardener
- Cutting tools (scissors, utility knife)
- Measuring tape or ruler
- Adhesive tape and glue
- Protective gear (gloves, mask)
Designing the Mold
The first step in creating your cardboard mold is designing it. Consider the shape and size of the final product, ensuring your mold design accounts for every detail. Precision is key here; even minor errors can lead to flaws in the final fiberglass piece. Use measuring tools to outline your design on the cardboard, and plan how the pieces will fit together to form the mold.
Constructing the Cardboard Mold
With your design ready, begin constructing the mold. Cut the cardboard according to your design, making sure each piece is accurate. Assemble the pieces using adhesive tape or glue, reinforcing corners and edges to ensure the mold holds its shape under pressure. It’s crucial that the mold is sturdy and secure, as any weakness could result in deformations during the fiberglass application.
Applying the Fiberglass
Once your cardboard mold is complete, you can begin applying the fiberglass. Start by cutting the fiberglass cloth or mat to the required size. Mix the resin and hardener as per the manufacturer’s instructions, and apply it evenly over the mold. Lay the fiberglass onto the mold, smoothing it out to avoid air bubbles or wrinkles. Repeat the process until you’ve built up the desired thickness, allowing each layer to cure before adding the next.
Tips for Ensuring a Successful Fiberglass Mold
Creating a successful fiberglass mold involves more than just following steps; it requires attention to detail and careful handling. One common challenge is ensuring the fiberglass adheres properly to the cardboard without warping or distorting the mold. To avoid this, make sure the cardboard is fully dry and free of dust or debris before starting. Another tip is to work in a well-ventilated area, as the resin can emit strong fumes. For a smooth and durable finish, take your time with each layer of fiberglass, ensuring it cures completely before moving on to the next.
Conclusion
Choosing the right material for your mold can significantly impact the outcome of your fiberglass project. Cardboard, with its versatility and low cost, is an excellent choice for many applications. By following the steps outlined in this guide, you can create a sturdy and reliable cardboard mold for fiberglass, perfect for your DIY projects. Ready to start your next project? Give cardboard molds a try, and share your experiences with others!


